Prinsesstårta (Swedish Princess Cake)

The prettiest cake you’ll ever make—and yes, it’s worth every minute.
Lately, the Princess Cake (or Prinsesstårta) has been everywhere—front and centre in the New York Times Magazine, making rounds on social media, and even popping up on bakery menus outside of Scandinavia. It’s officially having a moment, and I couldn’t help but offer up my own little version to bring it home—literally.
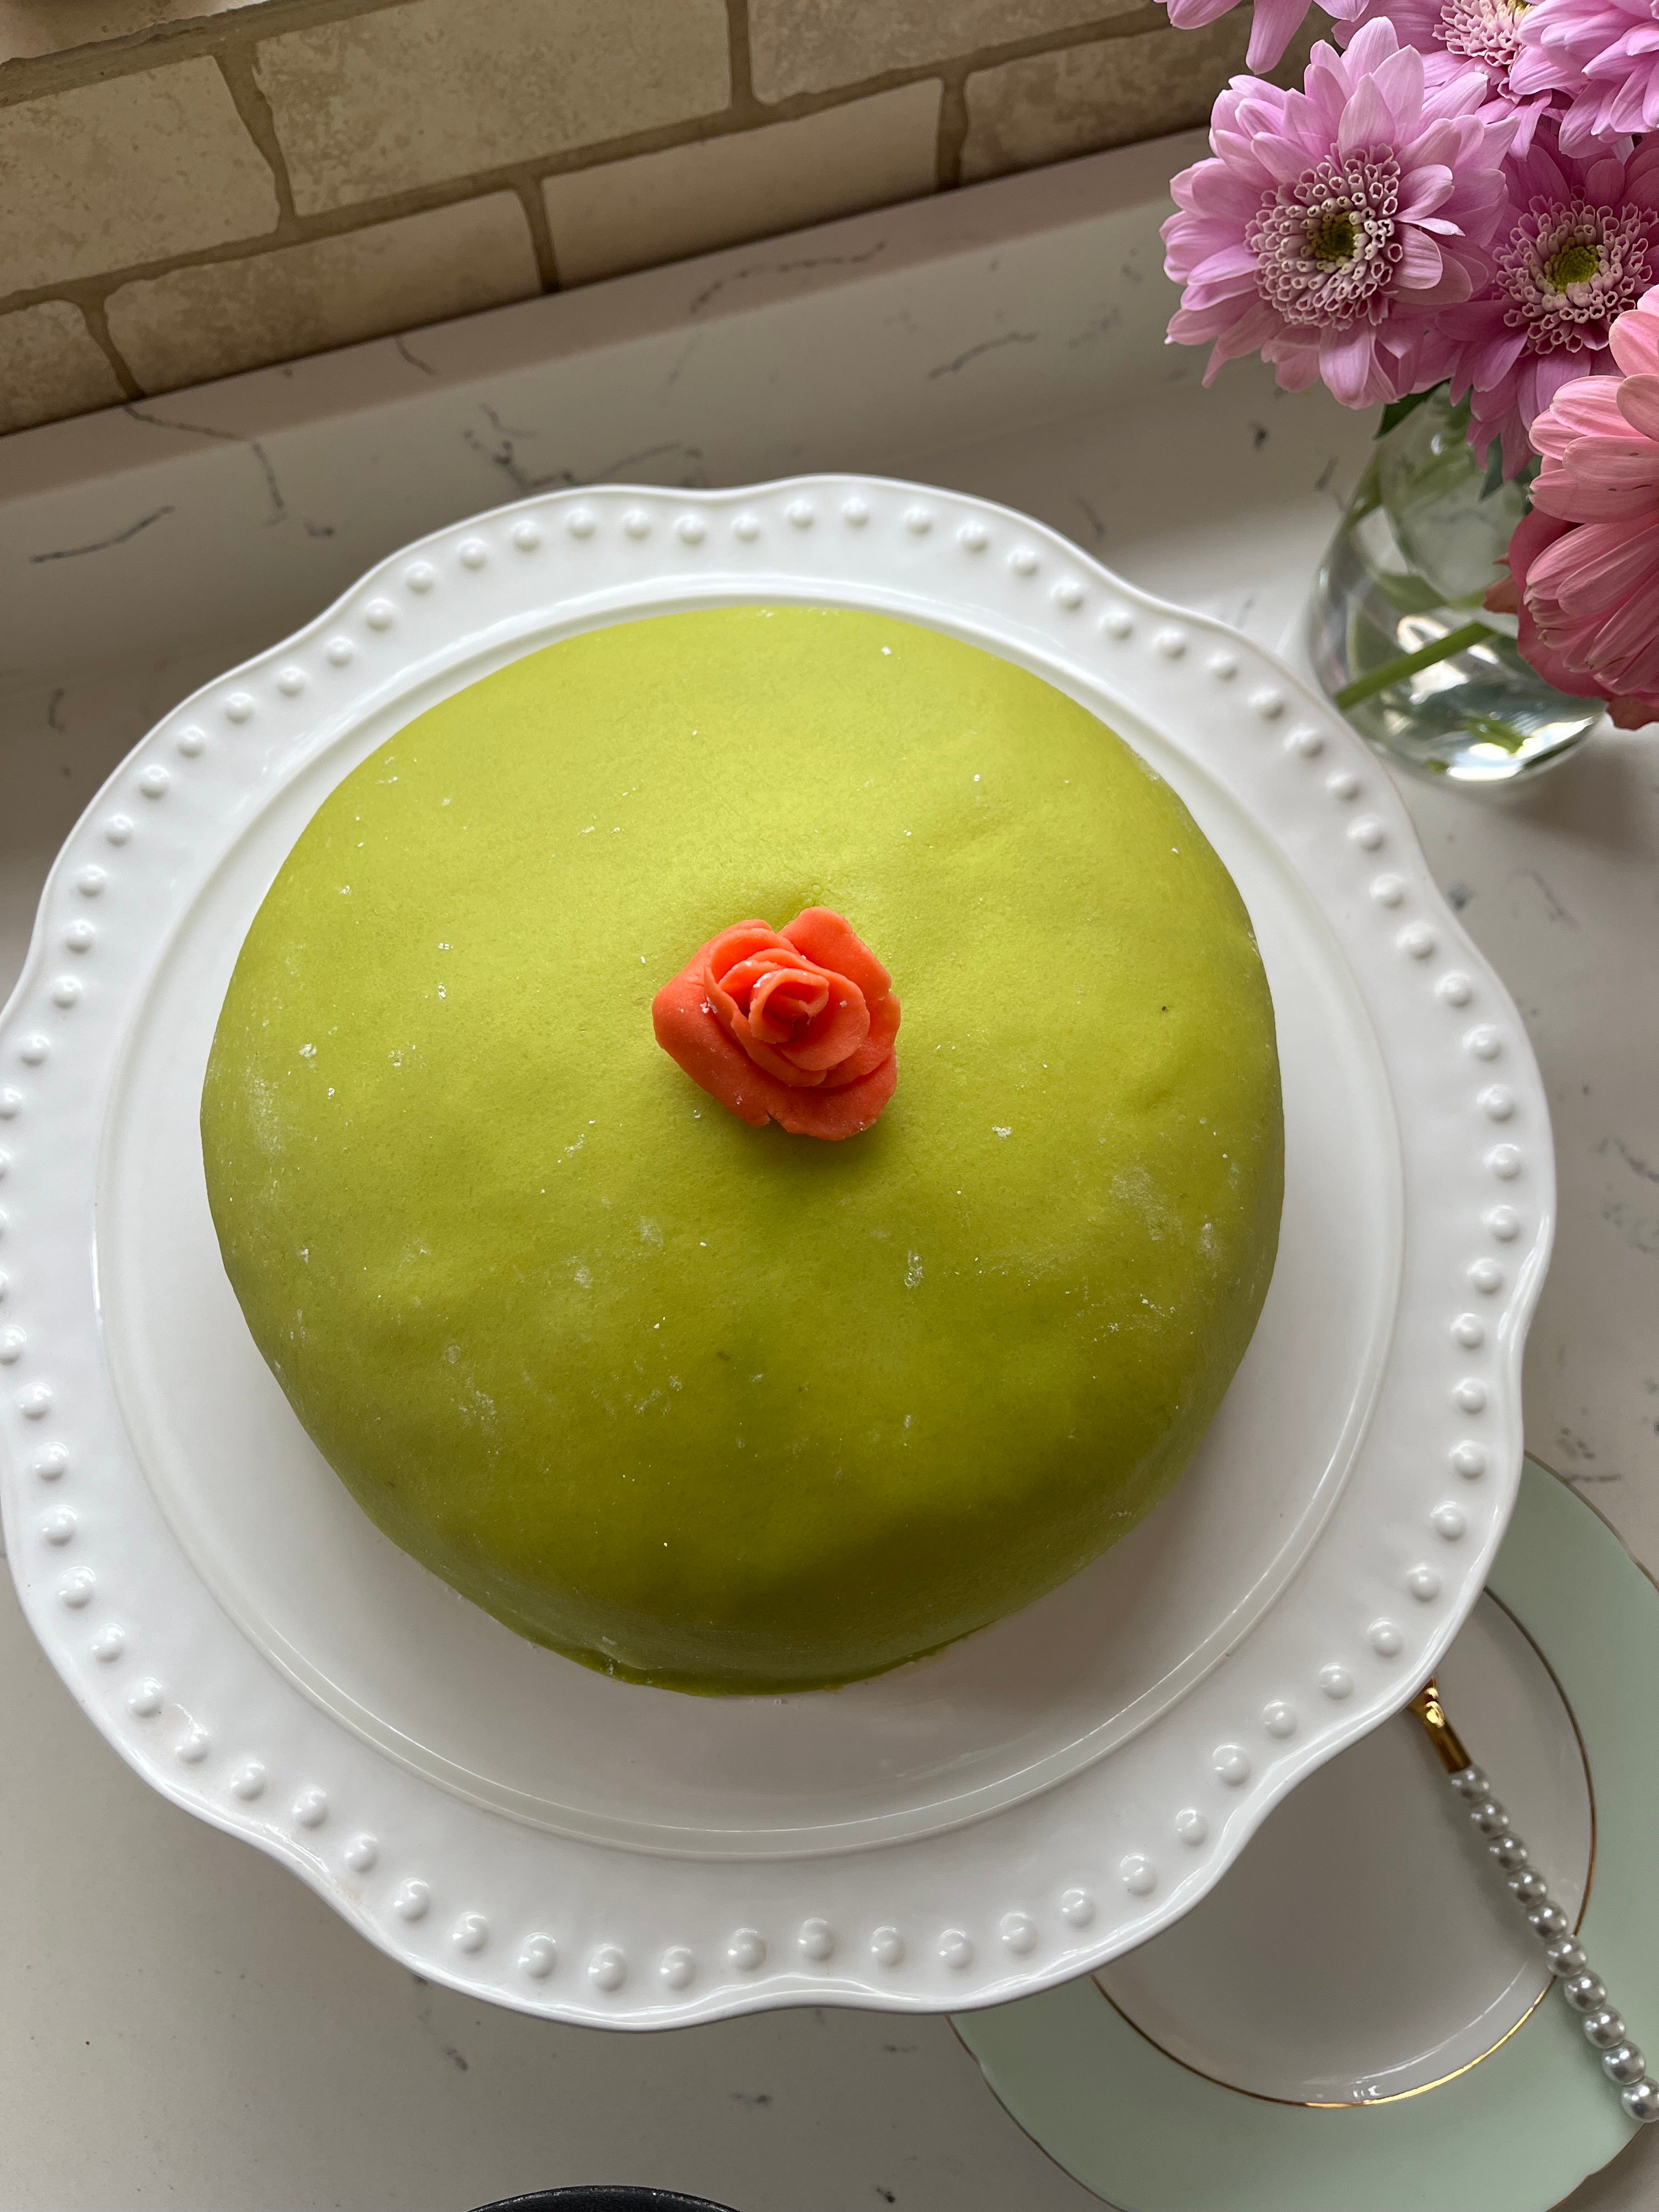
There’s something so joyful and sweetly nostalgic about this cake: the pastel green marzipan, the pink rose, the softly whipped cream dome. It’s beautiful and elegant, but also fun and whimsical. I think we could all use more cakes like this in our lives—not because it’s important, but because it’s nice. And that’s enough of a reason.
Now, traditionally, this cake is a bit of a project. It’s a labour of love, no doubt—but I’ve simplified the steps to make it more approachable for anyone to try at home. If you’ve ever looked at a Prinsesstårta and thought, “That looks impossible,” I promise you it’s not. I’ve broken everything down so that it’s easy to follow, and it comes together in a way that feels satisfying and even a little therapeutic.
It’s the perfect birthday cake, or just a “treat yourself” moment. It’s a little bit fussy (I love cakes with a touch of fuss, but not over-the-top), and it tastes absolutely divine.
Here’s how I make it:
⸻
Prinsesstårta (Swedish Princess Cake)
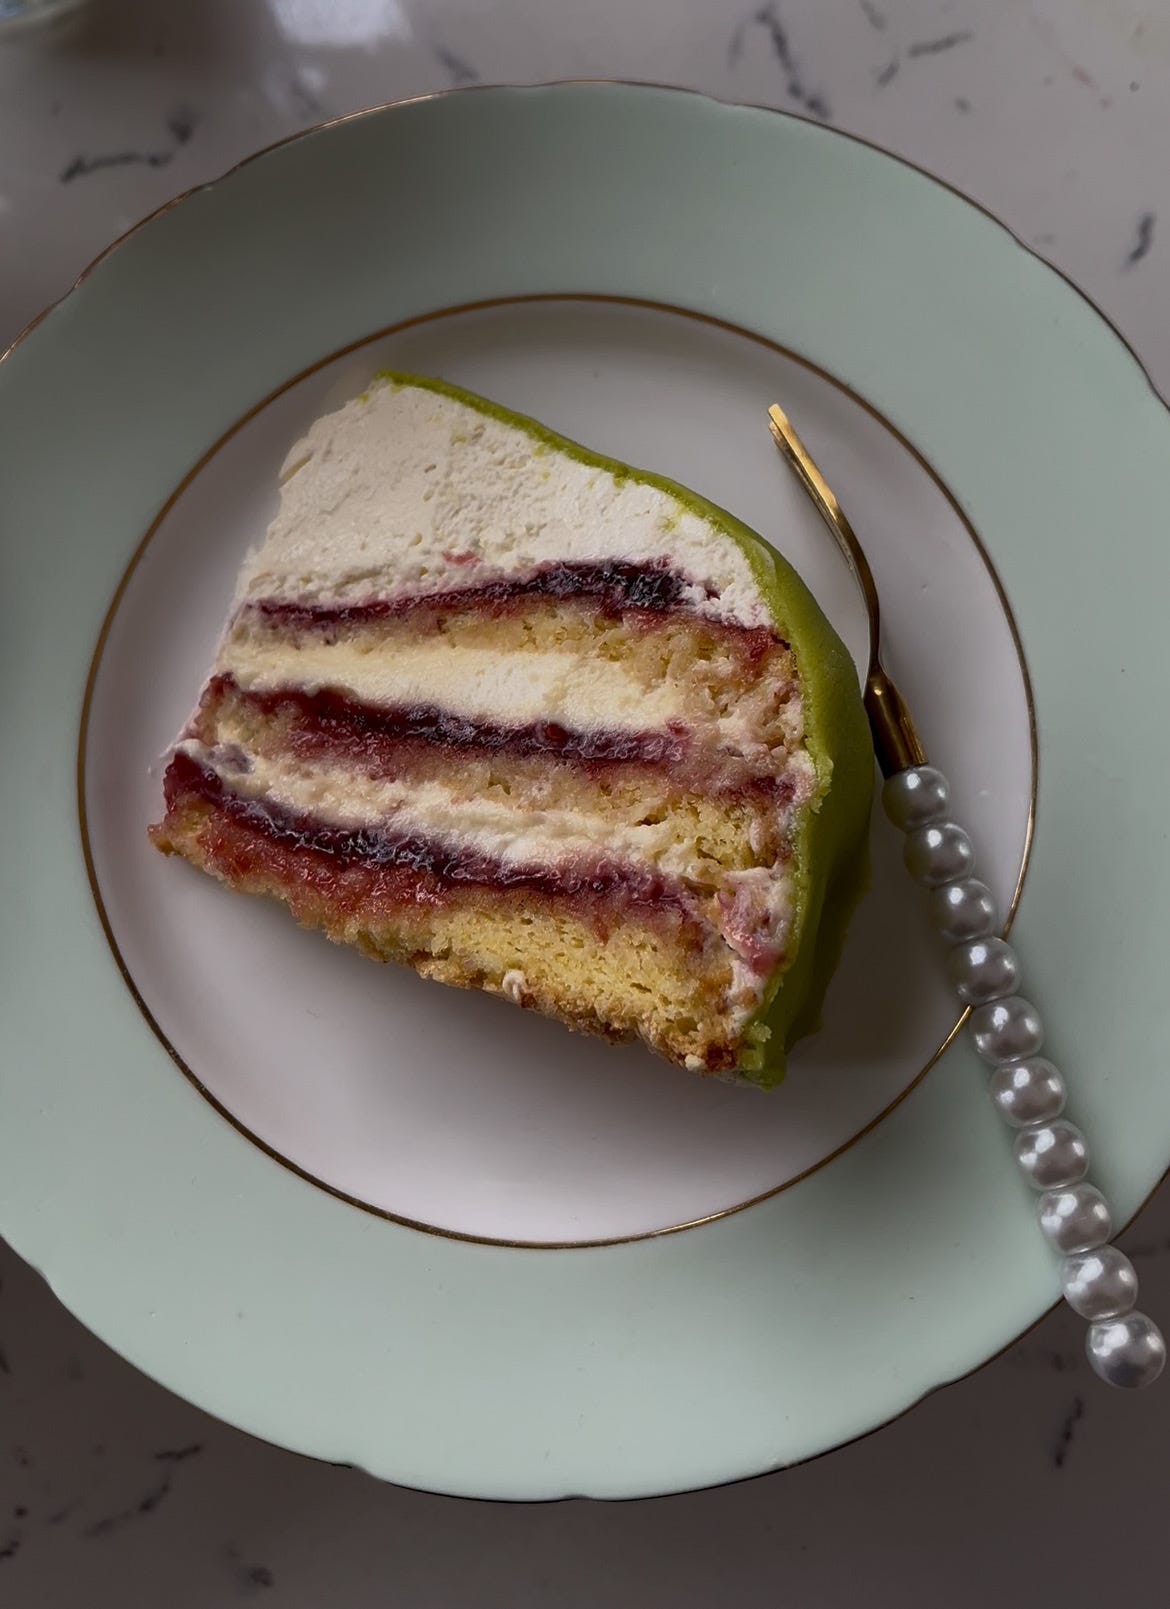
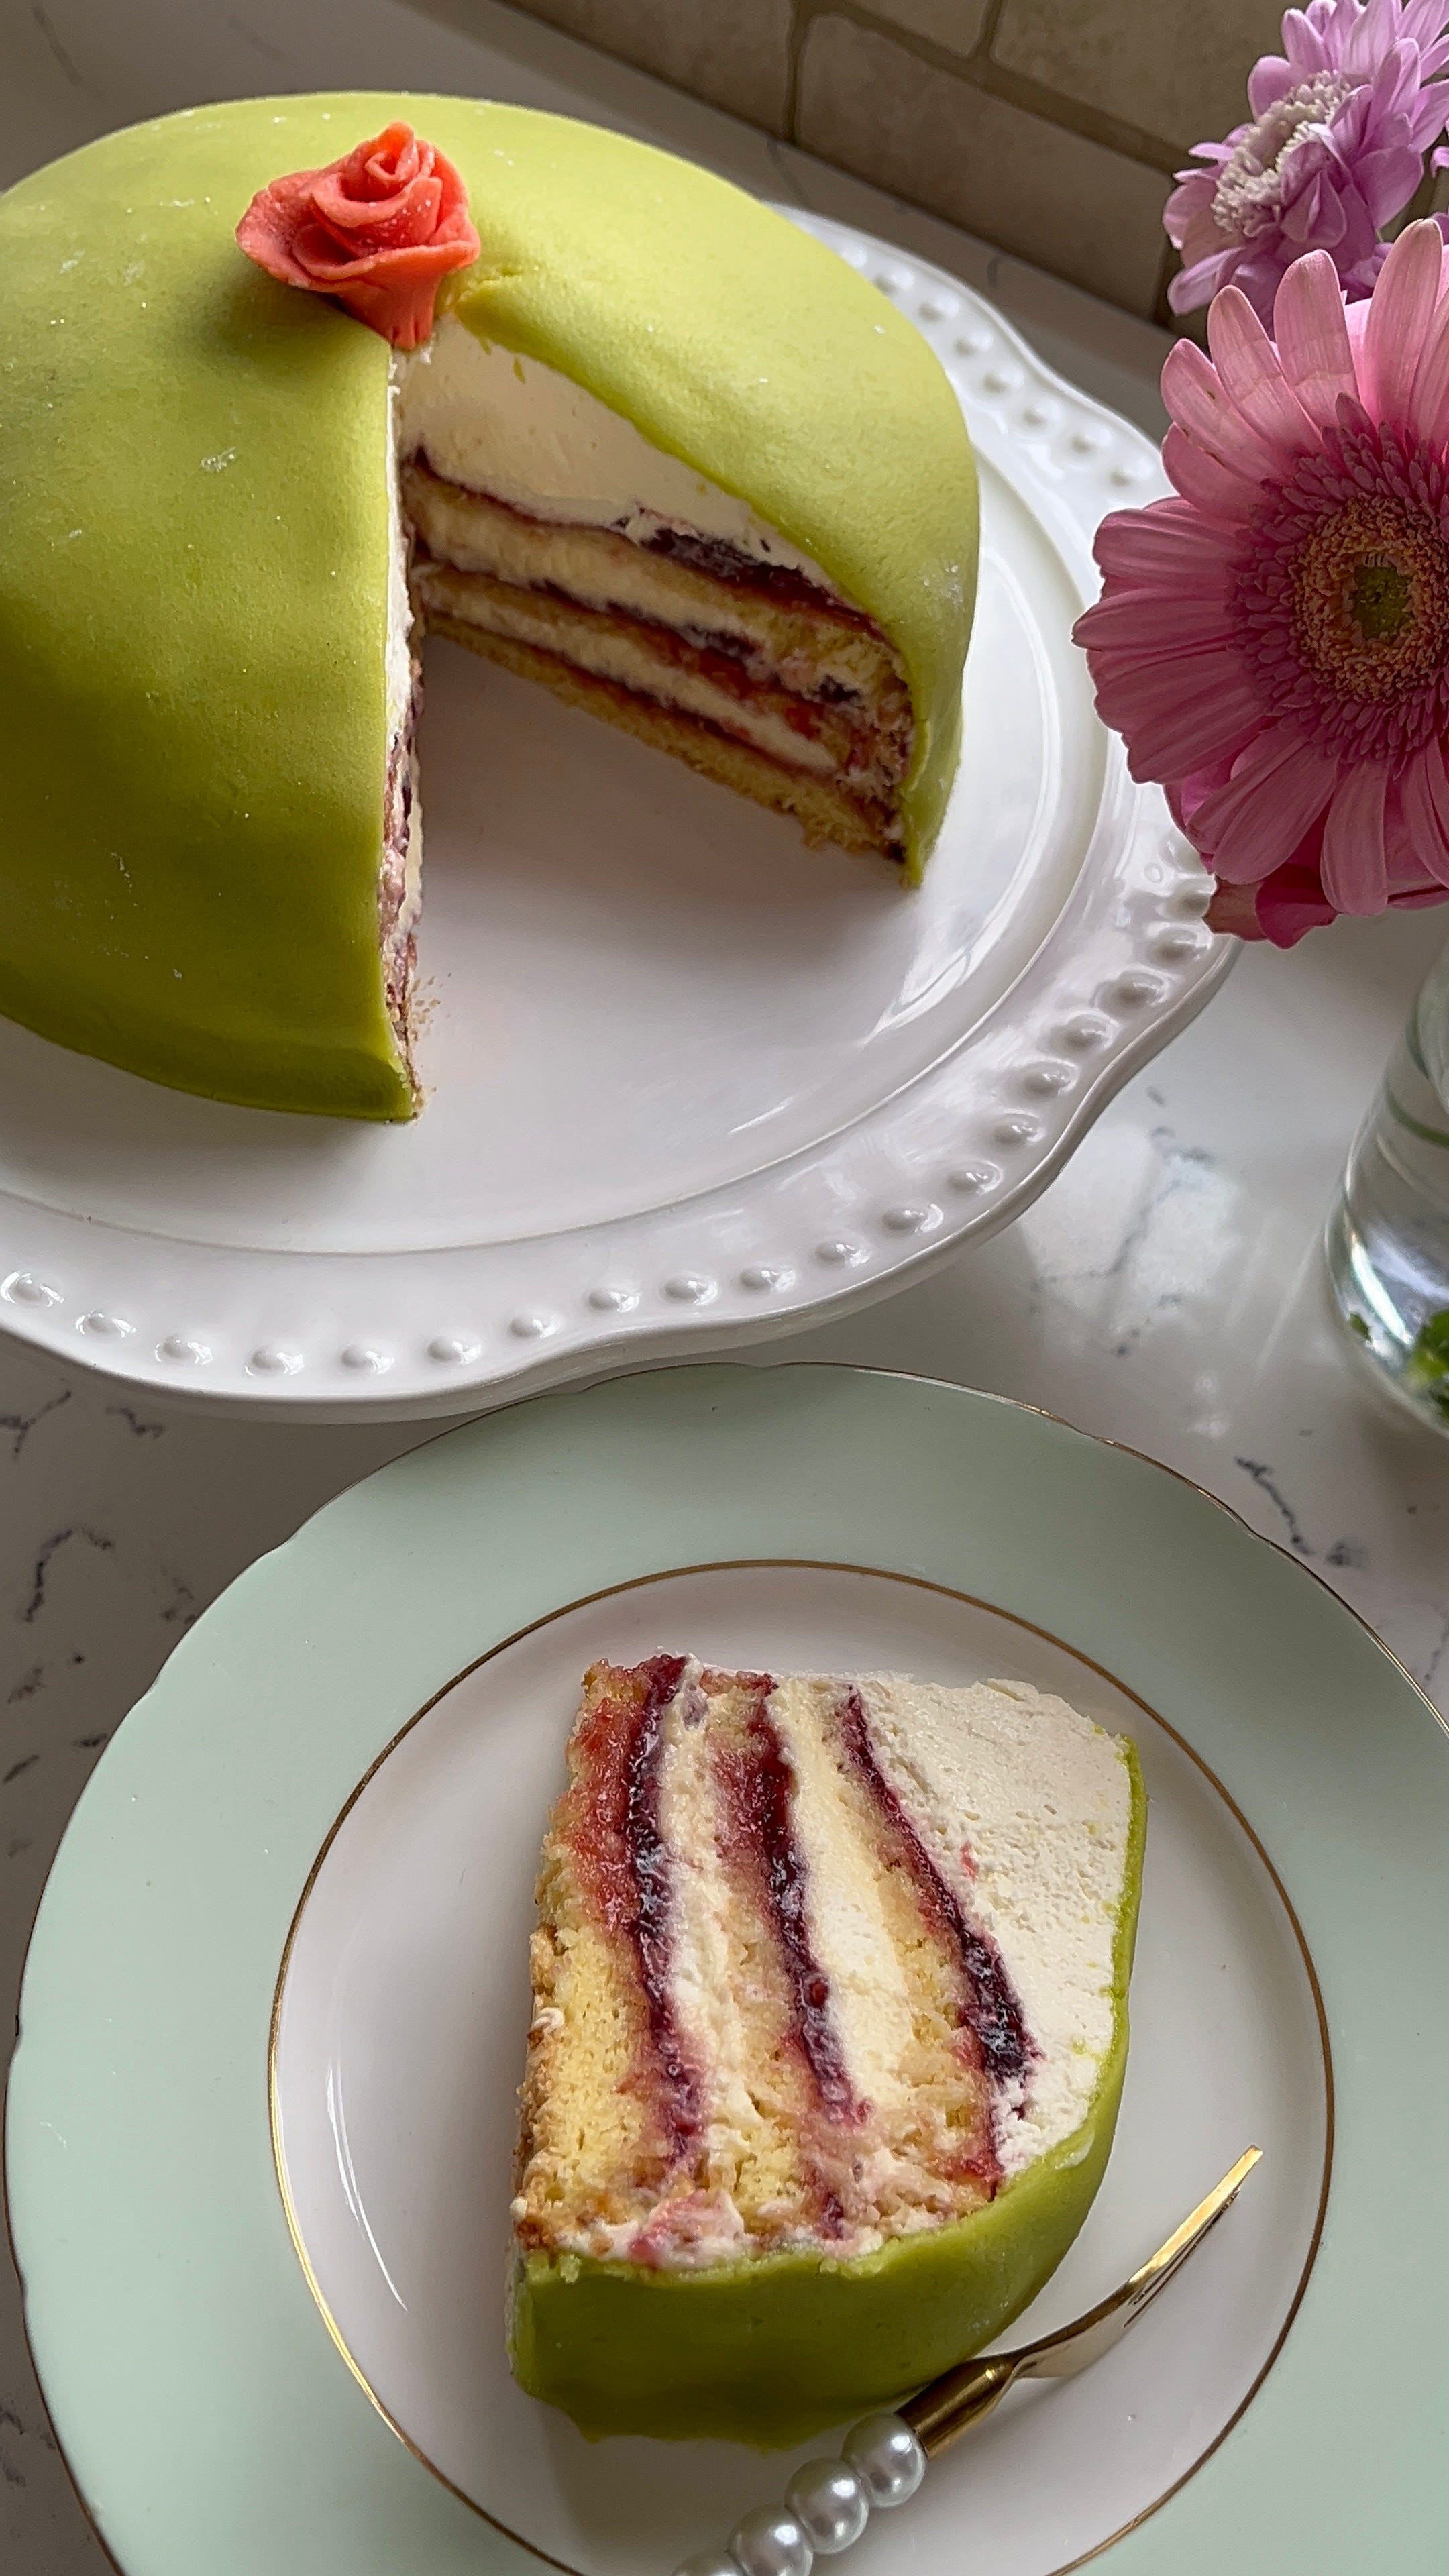
Layers of light génoise sponge, raspberry jam, silky vanilla pastry cream folded with whipped cream, a dome of Chantilly, and that iconic green marzipan finish—topped with a marzipan rose.
⸻
Ingredients
For the Génoise Sponge (3 x 9-inch layers)
• 6 large eggs
• 180g caster sugar
• 180g plain flour (sifted)
• 60g unsalted butter (melted and cooled)
• 1 tsp vanilla extract
• Pinch of salt
For the Pastry Cream
• 500ml whole milk
• 1 vanilla pod or 1 tbsp vanilla paste
• 5 egg yolks
• 100g caster sugar
• 30g cornflour
• 30g unsalted butter
For the Creams
• 900ml double cream (cold)
• 4–5 tbsp icing sugar
• 1 tsp vanilla extract
To Assemble
• Good-quality raspberry jam (shop-bought is totally fine)
• Green marzipan (about 400g), colour your own or buy pre-coloured
• Pink marzipan for the rose
• Icing sugar, for dusting
⸻
Method
1. Make the Génoise Sponge
Preheat oven to 180°C (160°C fan). Grease and line three 9-inch cake tins.
1. In a heatproof bowl over simmering water, whisk eggs, sugar, vanilla, and salt until warm and foamy.
2. Remove from heat and whisk with an electric mixer until pale, thick, and tripled in volume (about 5–7 minutes).
3. Sift in the flour and fold gently. Drizzle in the cooled butter and fold again—slow and careful to keep the volume.
4. Divide into tins and bake for 20–22 minutes. Cool completely.
2. Make the Pastry Cream
1. Heat the milk and vanilla until just simmering.
2. In a bowl, whisk egg yolks, sugar, and cornflour until smooth.
3. Pour in the hot milk slowly while whisking, then return to the pan and cook until thickened.
4. Off the heat, stir in the butter. Cool completely, with cling film pressed to the surface to prevent a skin.
3. Make the Creams
1. Whip the 900ml double cream to soft peaks.
2. Set aside half (about 450ml) and fold it into the cooled pastry cream.
3. Add the icing sugar and vanilla to the remaining cream and whip until stiff—this is your Chantilly dome and outer layer.
4. Assemble the Cake
1. Place one sponge on your serving plate.
2. Spread a thin layer of raspberry jam, then a generous layer of the pastry cream mixture.
3. Add the second sponge, and repeat with jam and pastry cream.
4. Add the final sponge, then a thin layer of jam.
5. Pile the Chantilly cream on top and shape into a smooth dome. Use the rest of the cream to cover the sides.
6. Chill for 30 minutes to firm up.
5. Finish with Marzipan
1. Roll out your green marzipan into a circle large enough to cover the cake.
2. Drape it gently over the dome, smoothing as you go. Trim the base.
3. Shape a rose from pink marzipan and place it on top.
4. Dust lightly with icing sugar.
⸻
A note from me –
I hope this brings a little sweetness (and beauty) into your kitchen. Whether you’re making it for a special birthday, a celebration, or just because it’s a Tuesday and you feel like it—you deserve a cake this lovely. As always, I’ve tried to make it as doable and stress-free as possible, because baking should feel like a joy, not a chore.
Let me know if you try it—I love seeing your creations and hearing how it went.
With love,
Cristy